Making a DIY Bow Stabilizer is a great way to improve the accuracy and stability of your bow. With a few basic materials, you can make a stabilizer in just a few hours that will enhance the accuracy and handling of your bow while reducing vibration and noise. This guide will walk you through the process of building a DIY bow stabilizer from scratch.
Table of Contents
What Materials Do I Need?
The materials you will need to make a DIY Bow Stabilizer are:
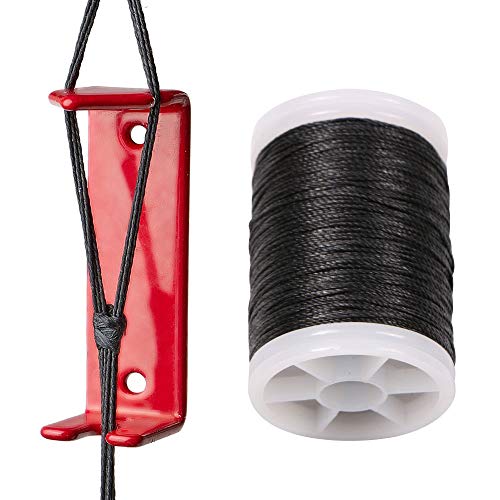
- Several feet of cable
- Locking pliers
- Threaded rod
- Two half-inch plated brass nuts
- Four half-inch plated brass washers
How to Make a DIY Bow Stabilizer
Step 1: Attach the cable
Using the locking pliers, attach the ends of the cable to the threaded rod. Make sure that the ends of the cable are securely attached to the threaded rod so they don’t come undone while shooting.
Step 2: Secure the cables
Secure the cable around the threaded rod by using the two half-inch plated brass nuts and four half-inch plated brass washers. To secure them, use the locking pliers to tighten down the nuts and washers.
Step 3: Add counterweights
To add counterweights, attach the cable to the bow riser via the threads and add heavy weights such as washers, nuts, or rocks to the other end of the cable. This will help to reduce the vibration of the bow.
Step 4: Adjust and test
Once the stabilizer is setup, adjust the counterweights as needed to achieve the desired amount of stability. Then, test shooting the bow to ensure that the stabilizer is working properly and that any undue vibration is being reduced.
Making a DIY Bow Stabilizer is a great way to reduce vibration and noise while improving the accuracy and stability of your bow. With the help of this guide, you can easily build a stabilizer in just a few hours using common materials. Once finished, you can adjust the counterweights to achieve the desired stability and accuracy for shooting.
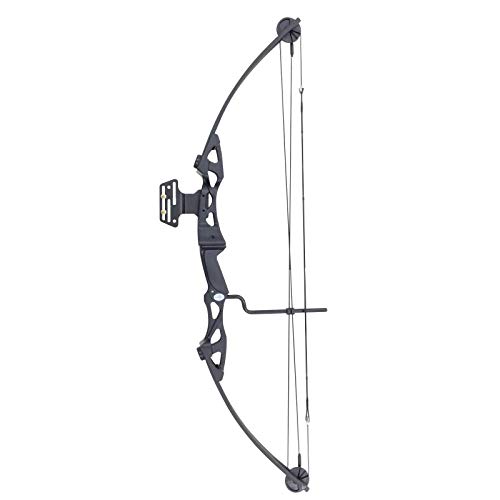
DIY Bow Stabilizer
I wanted a bow stabilizer but wasn’t willing to spend over $100 for it. I knew that i could make something that would be functional and look half way decent. So this is my Jeremy Riggin’ take on a stabilizer. Please let me know if you have any comments or questions.
3/4″ Tubing: https://www.mcmaster.com/9056K69/
1″ Aluminum Round Stock: https://www.mcmaster.com/8974K13/
Tube Weld Nut: https://www.mcmaster.com/94640A110/
Plastid Dip: https://www.walmart.com/ip/Plasti-Dip-Flexible-Protective-Rubber-Coating-Black-11oz-Spray/21015329


Source video. Follow the youtuber for more.
Related Products:
- DIY Archery Stabilizer
- How To Make DIY Bow Stabilizer
- DIY Archery Stabilizer and Side Bar
- CHEAP DIY Compound Bow Holder | DIY Bow Shop Tools
- Bow Stabilizer Comparison Review – The Best Archery Stabilizer for Hunting
- DIY Texas Compound Bow holder
- DIY PVC Bowstand / Caddy Build
- no stabilizer vs stabilizer compound bow archery
- 150 Yards w/Hunting Bow – Stabilizer vs No Stabilizer
- What's The Purpose Of A Stabilizer On A Bow? What Stabilizer Should I Get? | Archery Tips
- How To Choose A Stabilizer For A Compound Bow?
- DIY Custom Bow Modifications! – Customize your Hunting Gear
- Making a DIY PVC Archery Release and Fidget Spinner for Traditional, Compound and Sling Bows
- DIY Bow Hanger – Public Land Legal in all 50 states, cheap, easy, and 100% AMAZING!
- How To Choose The Right Stabilizer For A Compound Bow?
Last update 2021-01-05. Price and product availability may change.