Do-it-yourself projects are an increasingly popular way to cut costs, customize items, and get exactly what you want. Making your own bow stabilizer is one of those projects that can be performed easily and also tailor-made to your bows particular needs. While there are many after-market stabilizers on the market, if you’re looking to save money and make something that fits your particular bow precisely, then learning how to make your own DIY stabilizer is the right way to go.
Table of Contents
- 1 Parts Needed To Make A DIY Bow Stabilizer
- 2 The Process Of Making A DIY Bow Stabilizer
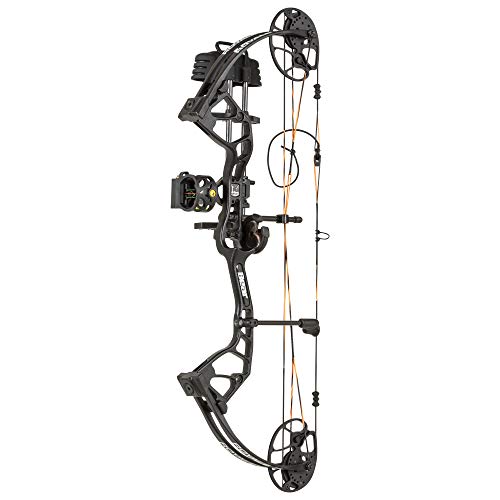
- 3 Compound Bow Accessories Package
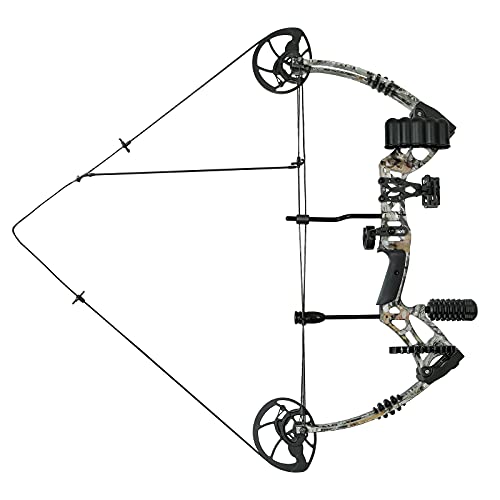
- 4 Bear Archery Attitude Compound Bow Rth Realtree Rh 70 Lb A4At11007R
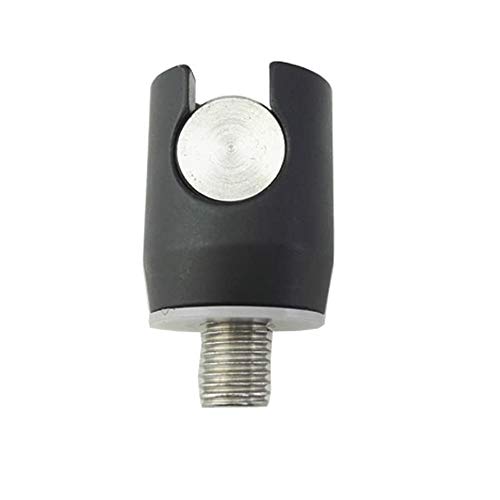
- 5 Bow Stabilizer For Compound Bow Quick Connect
- 6 Single Pin Compound Bow Sight
- 7 Compound Bow Sighy
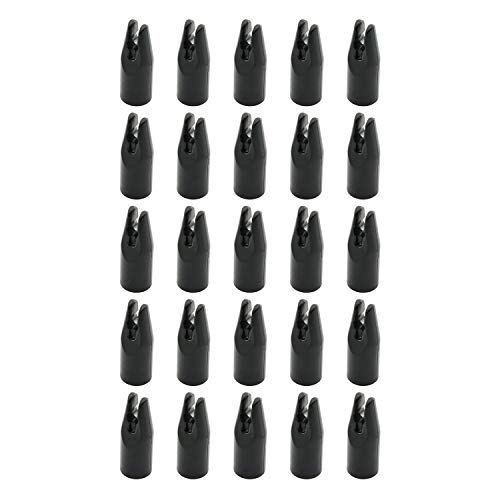
- 8 Compound Bow Arrow Nock
Parts Needed To Make A DIY Bow Stabilizer
Before beginning your bow stabilizer project, you’ll need to ensure that you have all the necessary parts and materials. These include but are not limited to:
- Stabilizer gas
- Heavy-duty velcro
- Tiny zip ties
- A wooden dowel
- A stabilizer sleeve
- A bow vise
The Process Of Making A DIY Bow Stabilizer
Once you have all of your necessary parts and tools, the process of making a DIY bow stabilizer is simple. The following steps can help guide you through the process:
Step 1: Attach The Vise
Attach the bow vise to the bow you’re working with and make sure it is firmly fastened into place by tightening the included screws.
Step 2: Attach The Gas To The Dowel
Slide the stabilizer gas onto the wooden dowel and make sure it is secured tightly by using a rubber mallet or hammer to knock out any air pockets.
Step 3: Secure The Gas With Velcro
Use a heavy-duty velcro to attach the stabilizer gas to the bow and ensure it won’t slip off.
Step 4: Insert The Dowel Into The Stabilizer Sleeve
Take the wooden dowel and slide it into the stabilizer sleeve, making sure it is secured firmly with tiny zip ties.
Step 5: Tighten The Sleeve
Using the included tightening strap, secure the stabilizer sleeve firmly to the bow.
Step 6: Final Assembly
After the stabilizer sleeve is firmly secured to the bow, take the stabilizer gas and attach it to the sleeve with the velcro. Here you can start to make customizations, such as attaching rubber damper systems.
Making your own bow stabilizers is an easy and cost-effective way to customize your bow precisely to your liking and have it perform exactly as you desire. While there are many after-market bow stabilizers that you can buy, a DIY project can be tailored to any bow, have custom features added, and of course, save you some money. By following the steps outlined above, you can make your own DIY bow stabilizer and be confident in the performance of your bow hunting.
How To Make DIY Bow Stabilizer
This is a quick video on how to make a cheap and effective stabilizer for your bow.

Source video. Follow the youtuber for more.
Related Products:
- How To Make A Compound Bow At Home?
- How To Make A Compound Bow String?
- How To Make A Compound Bow?
- How To Make An Ultra Compact Compound Bow, Center Shot
- How To Make A Homemade Bow Rack | DIY Bow Rack | The Sticks Outfitter | EP. 8
- How To Make Your Own Finger Sling for Archery | Shoelace Finger Sling DIY
- How To Choose A Stabilizer For A Compound Bow?
- How To Make A Bow Sling out of Paracord
- How to Make a PVC Bow Caddy
- DIY Archery Stabilizer
- How To Make A Compound Bow Easier To Pull Back?
- How To Build a Compound Bowstring DIY | Bow and Arrow Part 3 | Stretching, Twisting & Burnishing
- How To Choose The Right Stabilizer For A Compound Bow?
- DIY Bow Stabilizer
- Archery Basics 15 – how to make your own bow string – english
Last update 2021-01-05. Price and product availability may change.